Setting up a Load Balancer with CloudFlare
You may be interested in setting up multiple app servers and a load balancer server to manage the traffic.
Cleavr can provision and configure a load balance server for you. Click here to learn how.
In this guide, we'll use Cloudflare's Load Balancer solution and configure it to work with Cleavr provisioned app servers.
We'll create the following architecture:
- 2 app servers running our App code
- 1 database server that both app servers will connect to
- 1 Load Balancer created and configured on CloudFlare
Step 1: Set Up App Servers In Cleavr
In Cleavr, we'll provision 3 servers. Two (2) of the servers will be dedicated to our app while the third server will run our database.
In each app server, create a new site, selecting the app type (Adonis, Node, Nuxt, Laravel, etc) and be sure to NOT enable Let's Encrypt SSL. For this setup, we'll need to add custom SSL certs for our Origin Servers (origin server being our app servers in this case).
You'll also use the same hostname. In our example, we are adding balance.cleavr.cloud, which will use Adonis.
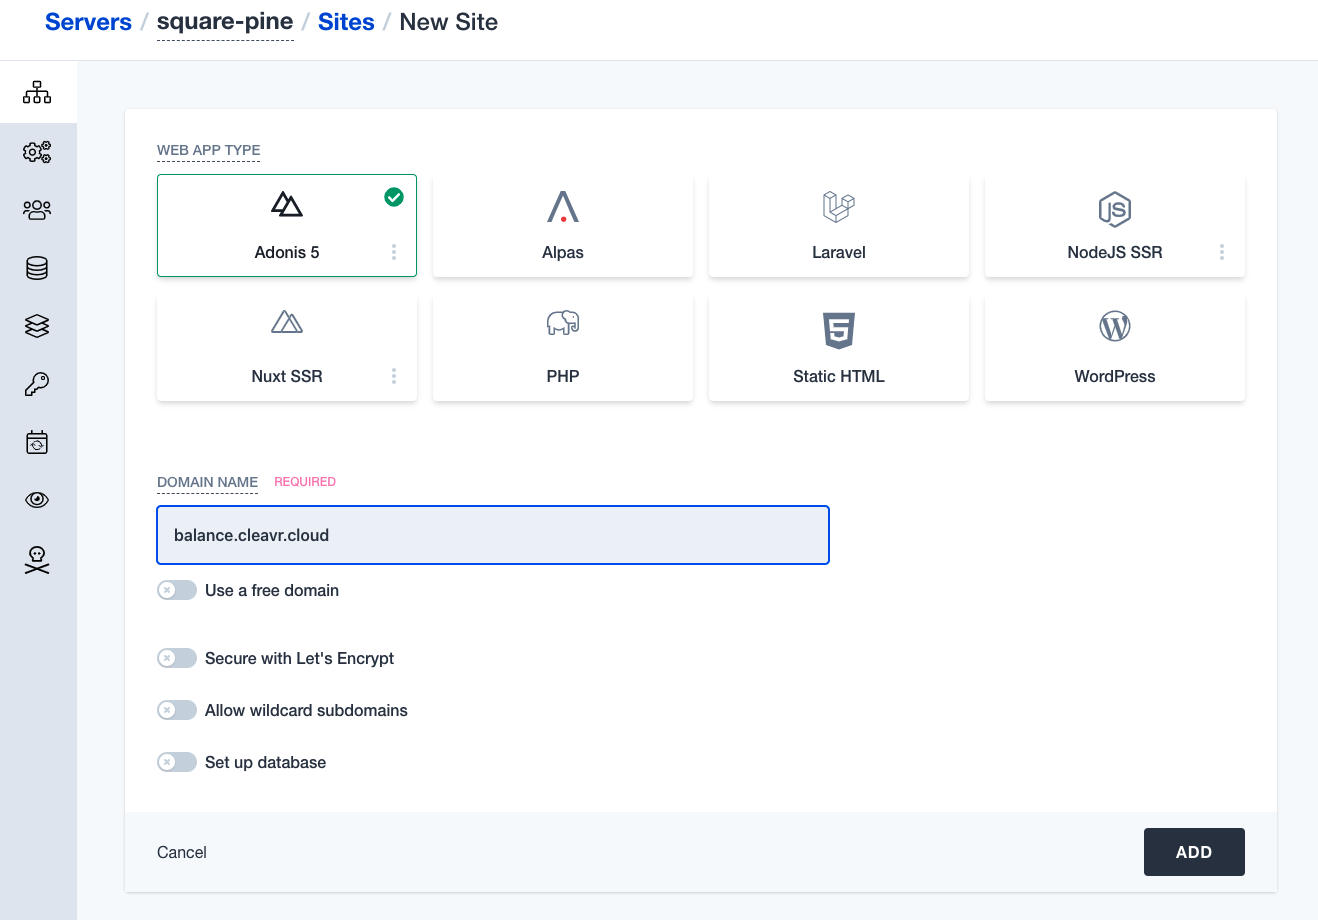
When you add a site, Cleavr will automatically any required environment dependencies to run your app type. In our example case, Cleavr will install NodeJS on our servers.
Step 2: Set Up Database In Cleavr
In this step, we'll simply provision a server with Cleavr and then install a database server on it.
For our example, in the server > database section, we'll click to install MySQL 8.
Once MySQL is installed, we'll add a new database, database user, and add our other two server IP addresses into the Host text box. This last part is so the database server will whitelist requests from our app servers.
Step 3: Set Up Load Balancer In Cloudflare
This step assumes that you use Cloudflare to manage your domain as this is required in order to set up a Load Balancer with Cloudflare. Also, there is a minimum $5/month fee that Cloudflare charges for load balance servers.
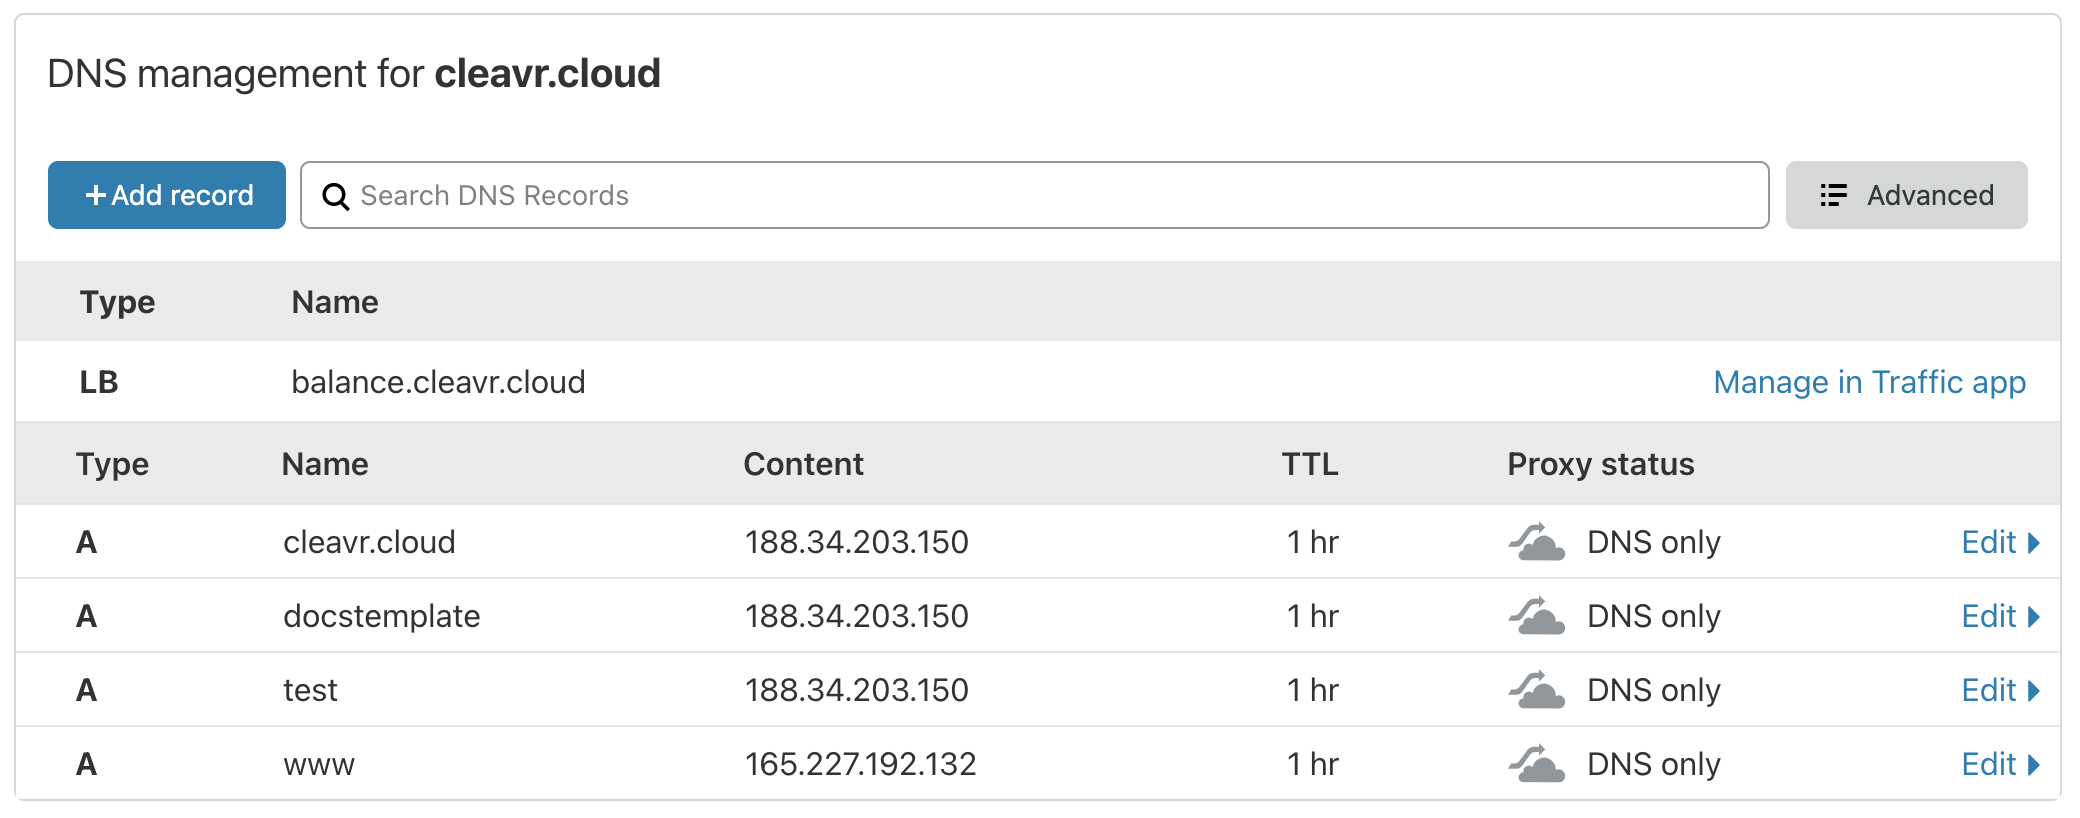
First, click into the domain you are using and then on the DNS icon to make sure that you do not have any records for the domain that you'll assign to your Load Balancer.
Now, click the Traffic icon and then click on the Load Balancing tab.
Click on the Create Load Balancer button and go through the purchase steps.
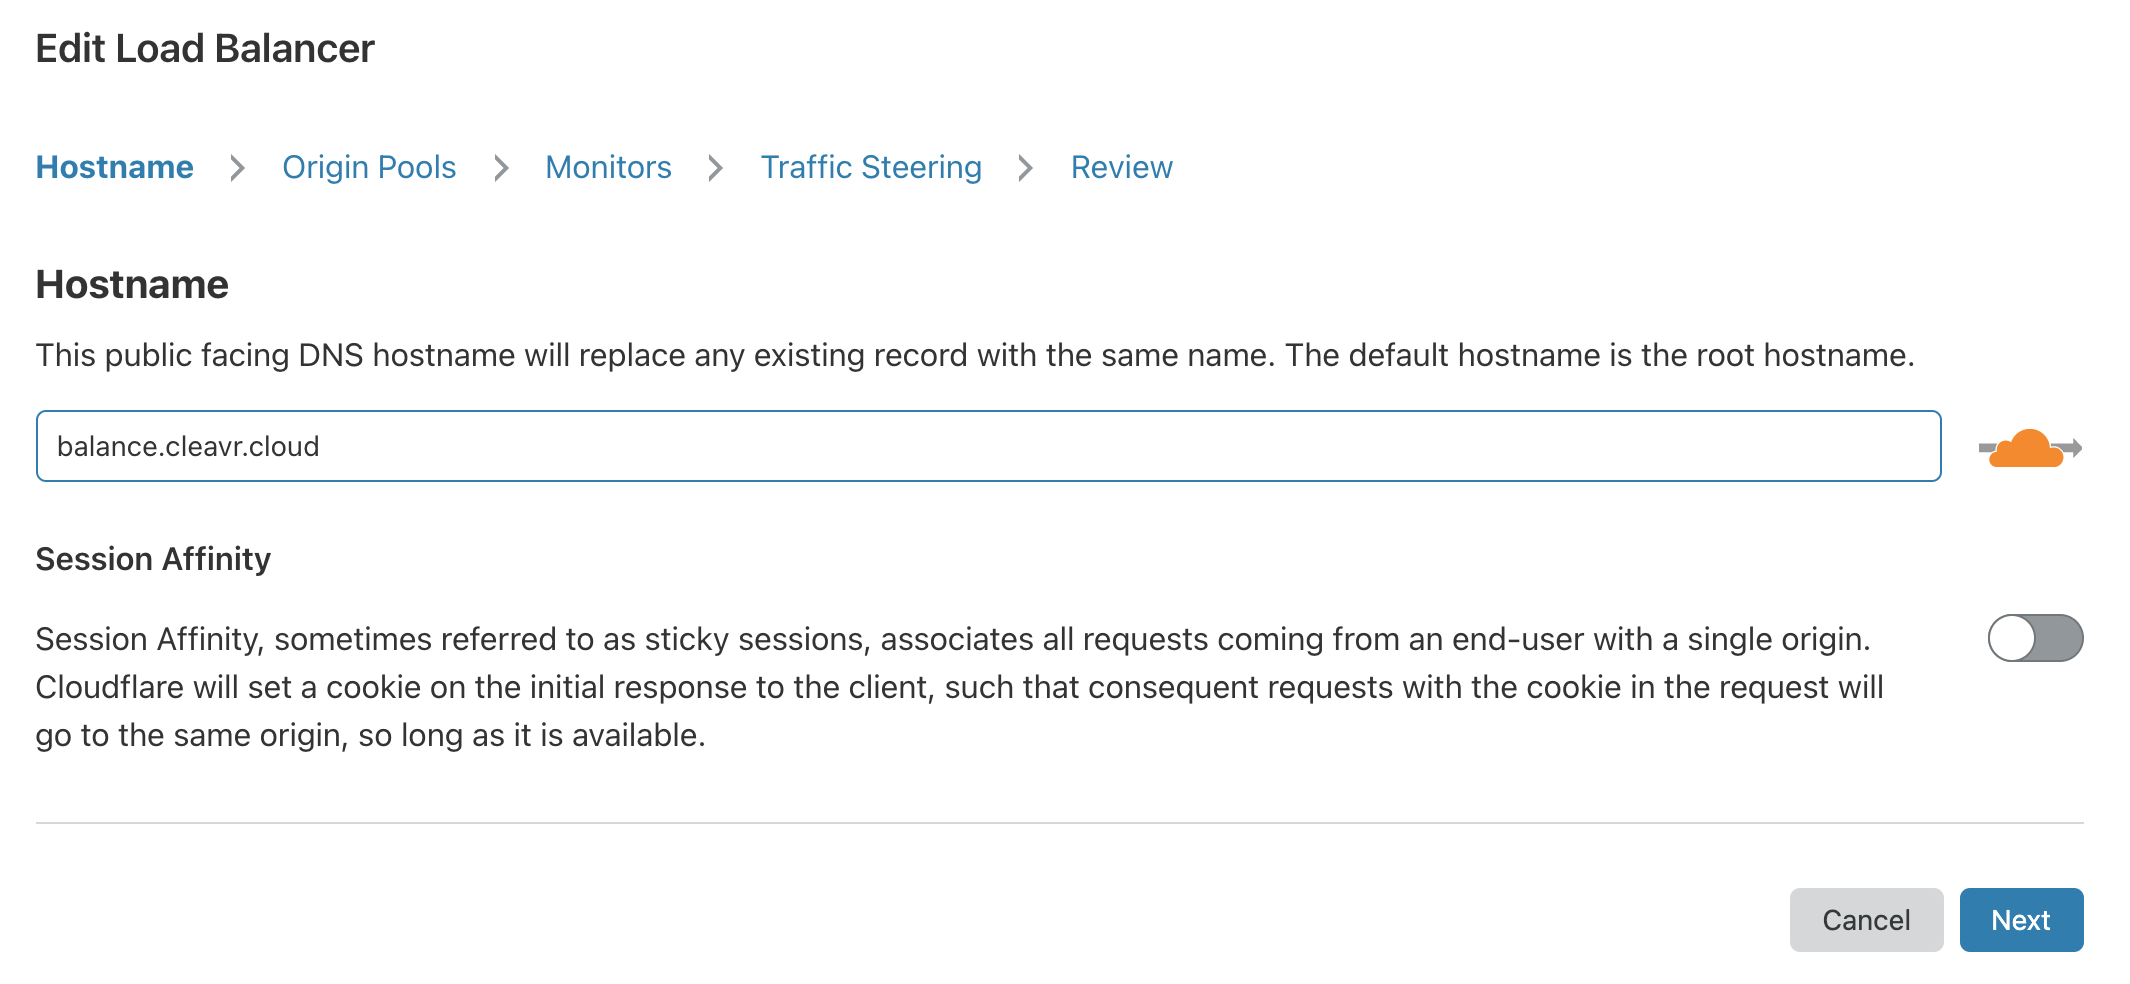
Once you are completed with the purchase steps, you'll be asked to provide the hostname.
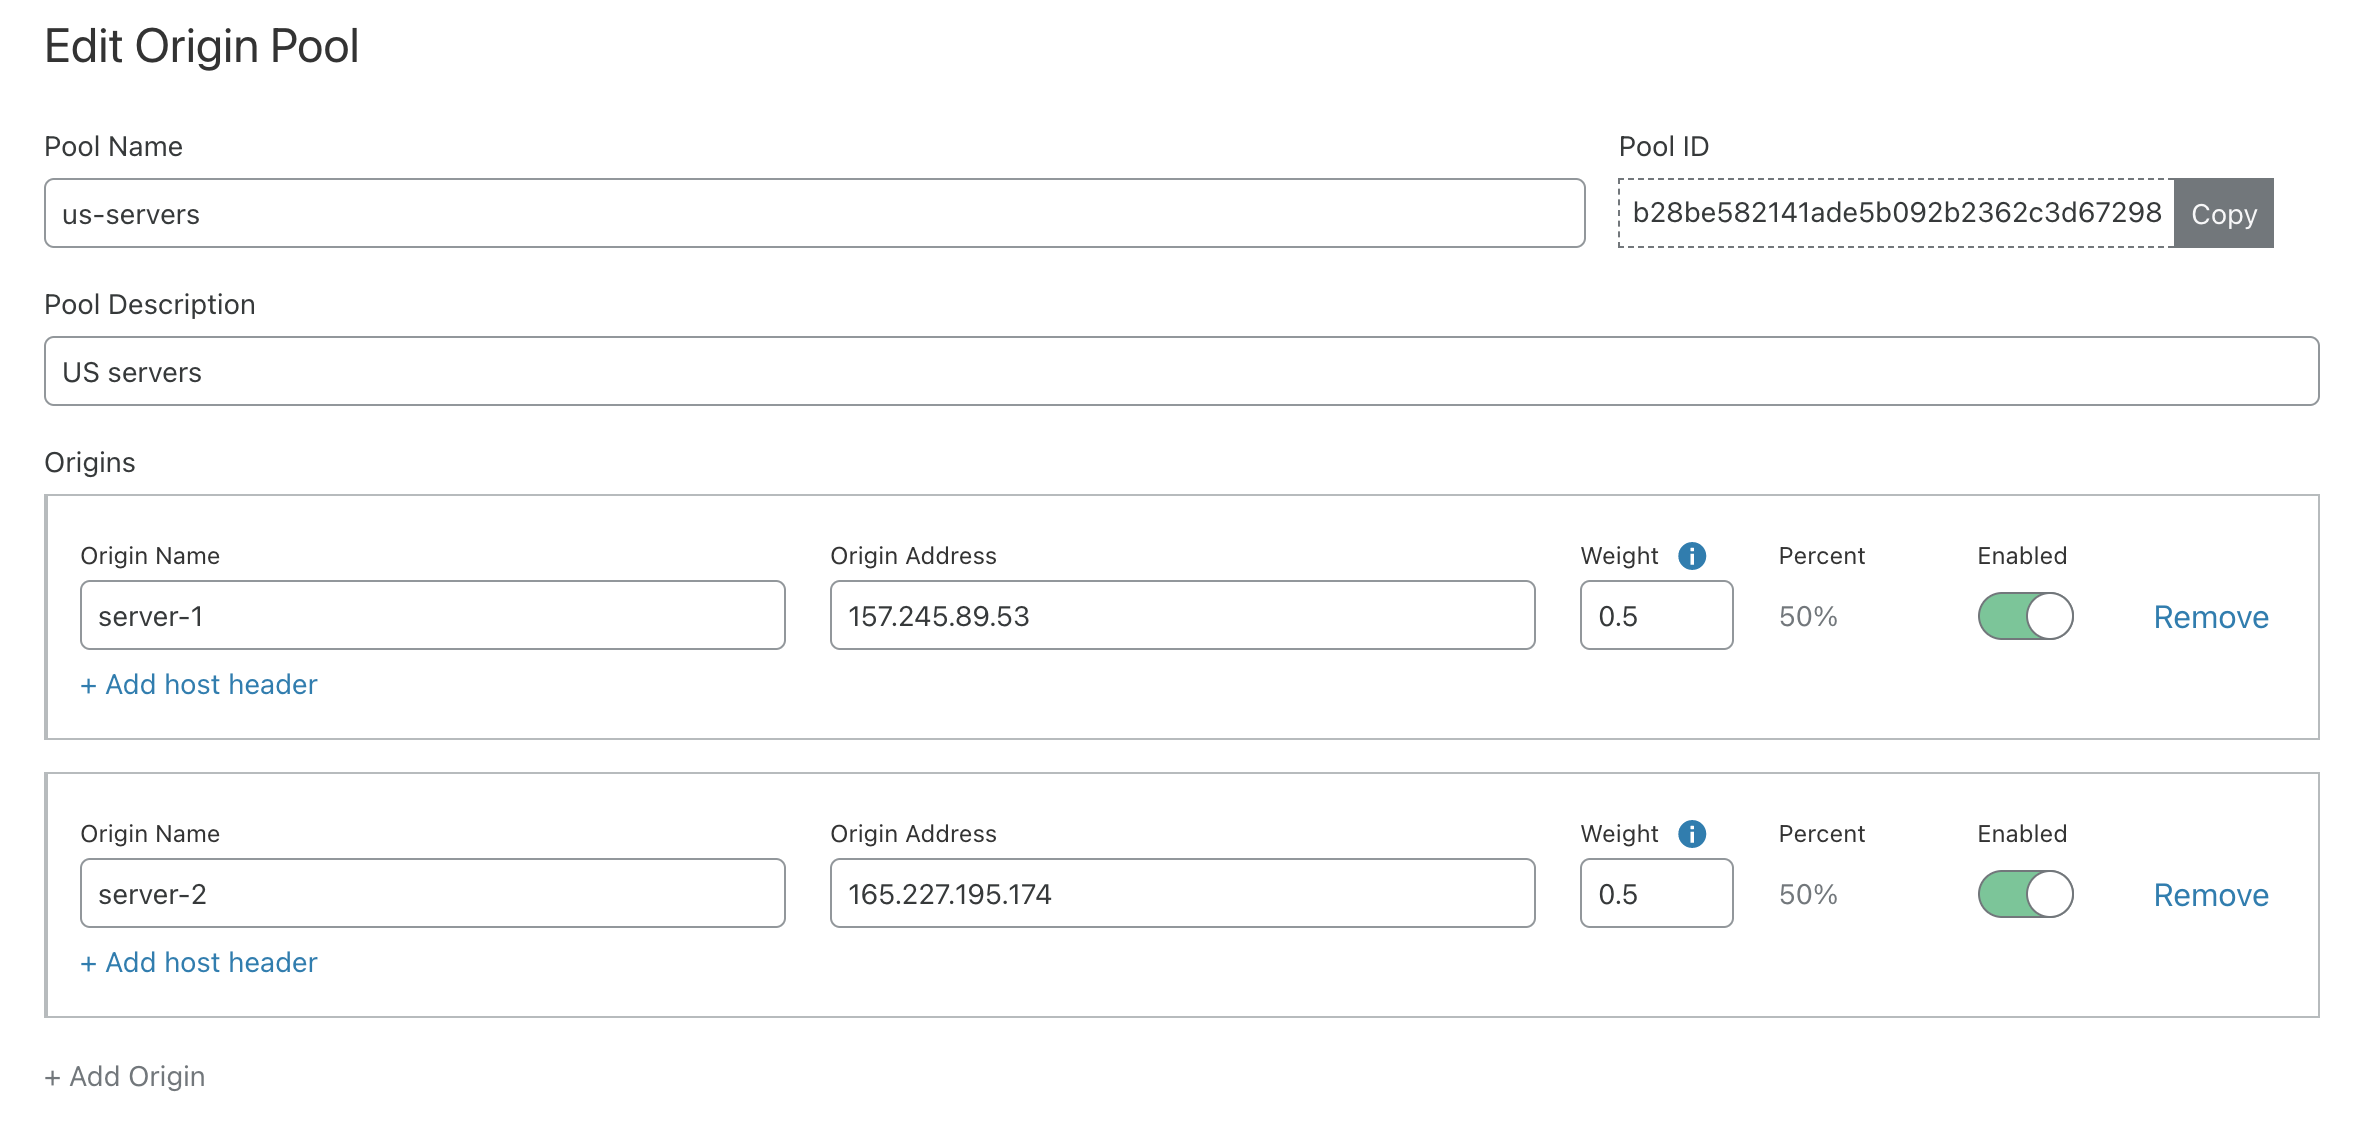
Next, you'll need to create your Origin Pool and define the Origin Servers. Copy and paste the public IP from Cleavr to the Origin Addresses for both of the app servers that you'll add here. Do not add the database server for this step as it is not necessary.
Continue to make the necessary configurations for your origin servers, monitoring, etc.
Once you have your Load Balancer setup according to your preferences, we'll move on to the next step.
Step 4: Create Origin Server SSL Certs In Cloudflare And Add To Cleavr
For our app servers, we'll want to apply SSL certs. Cloudflare offers free Origin SSL certs that we'll create and apply to our app servers.
In Cloudflare, create the Origin Server cert and key in the SSL section, applying them to the hostname you setup for your load balancer.
Once created, go to each app server > site > SSL in Cleavr and apply the Origin Certs as a custom cert.
For more detailed instructions on this process, refer to Apply a Cloudflare SSL Cert instructions.
Step 5: Set Up Web App In Cleavr
In the deployment workflow section of Cleavr, you'll notice that there are shell deployment workflow from when you added the new sites in the earlier steps. You can ignore or remove these shell apps.
Click on Add App and fill out the form. For the servers section, click to check each server used for this app - which is both app servers and the optionally the database server in our use case. You'll also need to select one of the sites that were created earlier. It doesn't matter much which one you select.
Including the database server in this use case is completely optional. If the database server is being included, then it will likely require additional configurations when setting up deployment hooks that wouldn't otherwise be needed.
Click Add to add the new app.
Assuming your app relies on .env variables, we'll go to the deployment workflow > environment section and for each of the app servers, add in the necessary env variables and sync them to the server.
Step 6: Configure Deployment Hooks And Then Deploy!
In the deployment workflow > deployment hooks sections, we'll need to make sure that the correct operations are going to occur for each app server.
If you click into one of the deployment hooks, you'll notice that all of the servers are enabled. If you included the database server, then you'll want to disable the database server for each of the hooks as there is nothing we are directly doing on the database server during deployments,
If you are doing something such as migrating database, you'd only need to run that command on one of the app servers. Make sure to disable one of the servers so that the action isn't ran more than required.
Add any additional deployment hooks that your app may need.
Once you have everything setup, deploy!
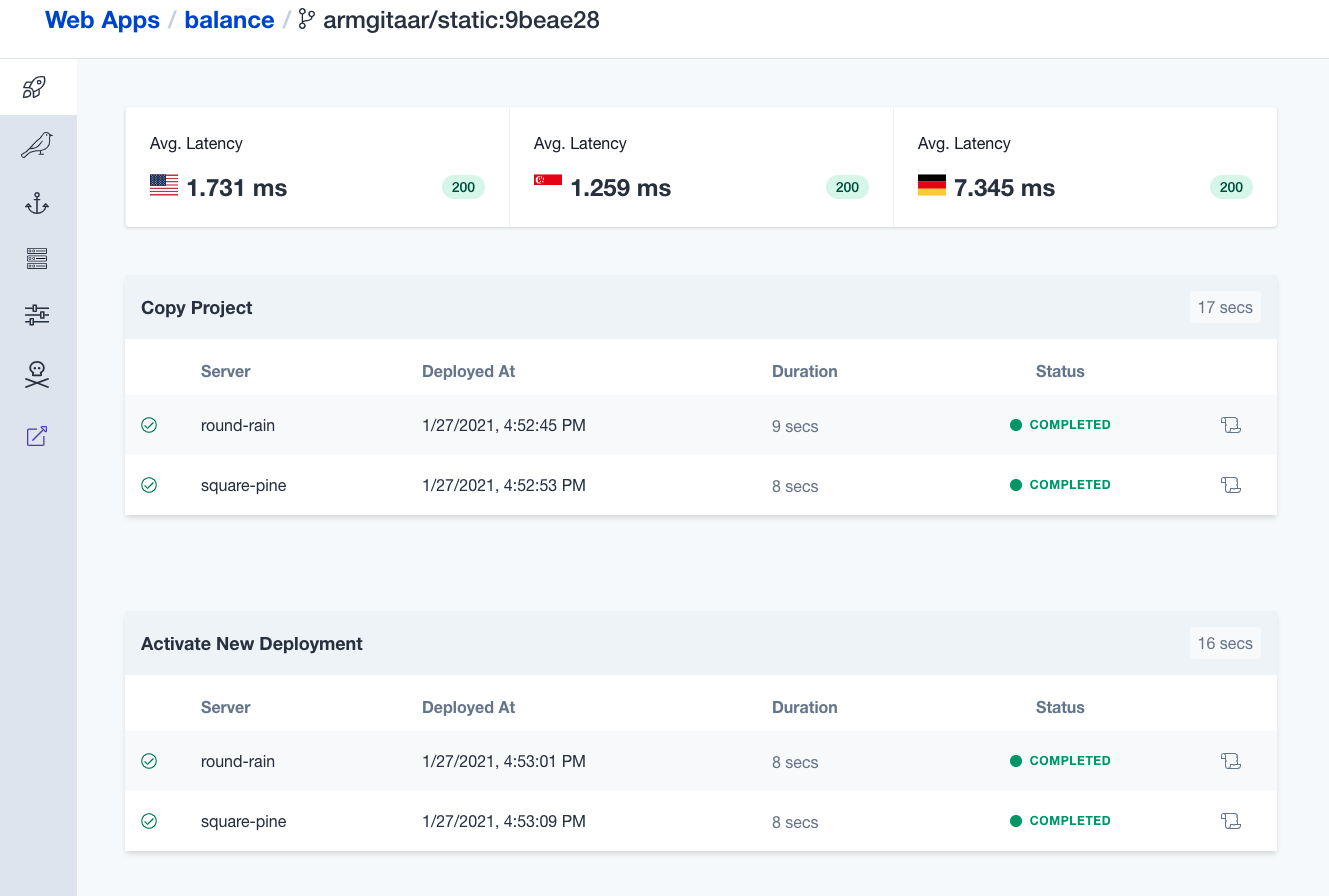
Cleavr will move the deployment hooks and run them on the designated servers.
We realize there are some repetitive steps, but don't worry! Improving these types of setups is on the road map.