Deploy a Nuxt SSR or Static app
Cleavr gives extra treatment for NuxtJS so that you can easily deploy your Nuxt SSR and Static (JAMstack) applications with just a couple of clicks.
On top of that, Cleavr also automatically installs and configures PM2 to run your app and to keep it up. Further to that, Cleavr sets PM2 to run in cluster mode to take advantage of available cores for added site performance.
You can add your Nuxt app either in one fell-swoop with flash-deploy or add your app to an existing server. In this guide, we'll add a Nuxt app to an existing server.
Step 1: Add a Nuxt site
On an existing server, click Add Site to add a new site to your server.
You'll see a web app type option for Nuxt. Clicking on the ellipses will allow you to select between a Nuxt SSR app and a Nuxt Static app.
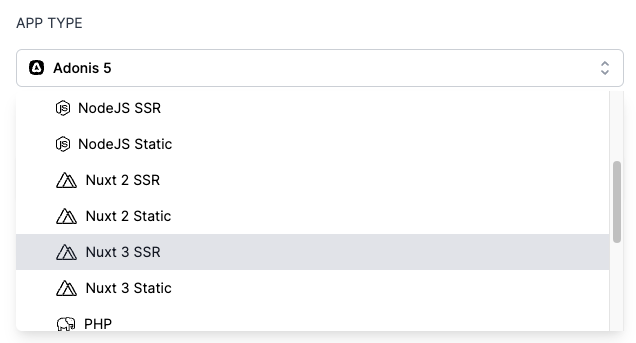
Which option should you choose?
Which option you select depends on how you have your app configured in the nuxt.config.js file AND how you want your site to operate in production.
SSR is the more common, as well as the default, mode of Nuxt where the server dynamically serves HTML to clients when requested. Static mode will convert your whole app to pure HTML files at the time of generation, which happens during the deployment process.
In your nuxt.config.js file, check to see if you have the following listed:
target: "static";
If target: 'static is present, then you'll want to select the Nuxt Static option in Cleavr. Otherwise, select the Nuxt SSR option.
Next, fill out the hostname you'd like to use and select any additional desired options. Then, select Add to add the new site to your server.
Don't worry about trying to figure out what environments need to be installed on your server. Cleavr will add any missing environment dependencies based on the new app type you've added.
Step 2: Configure Deployment Workflow
After the site has successfully installed, you'll now need to create a deployment workflow and deploy out your app.
In the deployment workflow section, you'll notice that a new deployment workflow was automatically created after the Nuxt site was added. This is a basic deployment workflow shell that you can use to complete the setup of your deployment workflow. Click on Complete Setup on the deployment workflow.
For more complex apps that have multi-server architecture (multiple web app servers, database servers, queue servers, etc), then you'll want to create a new deployment workflow so you can define which servers are part of the app's server architecture.
Configure the VC Provider, Repository, and Branch To Deploy fields on the Settings > Code Repository tab and then click Update.
From here, you may have additional configurations to make depending on how you set up your deployment workflow:
- In Settings > NPM Build, the
npm startscript in Entry Point and Arguments will work for the majority of situations, you may need to define an entry point if you have it configured different to the standard - If you are using GitHub for the VC Provider, consider enabling the GitHub Actions integration in the settings area so that you can use GitHub to build your app, which frees up your server's resources during deployments
- The Hooks section has default deployment hooks to deploy your SSR and Static apps. If you have additional commands to run during deployment, create a custom deployment hook and add it to the correct order placement that it should run in during deployments
Step 3: Deploy!
If everything looks good, go to the deployments section and deploy! 🚀
Deployment issues? Check out the NodeJS deployments troubleshooting docs for common deployment issues and tips for troubleshooting.