Load Balancer
Do you have traffic that you want to split between multiple servers? If so, then Cleavr's Load Balancer will make it easy for you to set up a load balancer, connect multiple servers to balance traffic between, and quickly deploy your applications to the multi-server infrastructure.
Provision Load Balancer
To add a new load balancer, click Provision New Server from the servers section.
Select a provider, region, and plan you'd like to use for your new Load Balancer.
Since a Load Balancer server's main purpose is to simply act as a traffic cop and isn't an app server by itself, the lower tier plans should typically be enough to do the job.
For Server Type, select Load Balancer.

Click Provision to create the new Load Balancer.
Cleavr will spin up a server on the provider you've selected and will install and configure HAProxy on the server to manage Load Balancing.
Since HAProxy uses port 80, NGINX will not be installed on a Load Balancer server.
Set Up Load Balancing Site
Once the Load Balancer server has completed provisioning, it's now time to set up a load balancing site.
Think of the load balancing site as the site visitors will actually go to and then the load balancer will determine which server the visitors are then directed to. As such, this site will be set up with the actual domain that users will use to hit your website or app.
To add a load balancing site, click Setup Load Balancing Site.
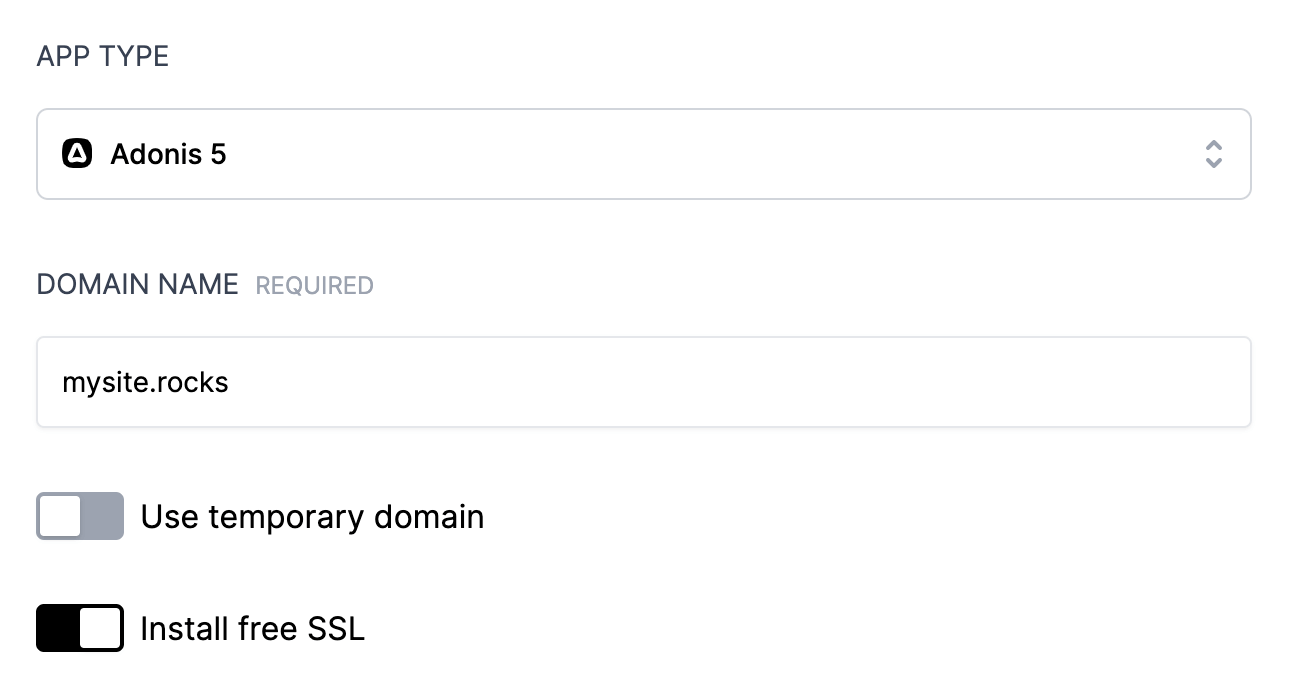
Select the App Type for your site.
The selected app type will be used to:
- Automatically select sites when associating a server to the load balancer
- Create a deployment workflow that will be optimized to deploy the app
Enter the Domain Name for the website or use a free Cleavr temporary domain.
If using your own domain name, you may also choose to install SSL certificate.
When you have everything configured how you want, click Setup to create the load balancing site.
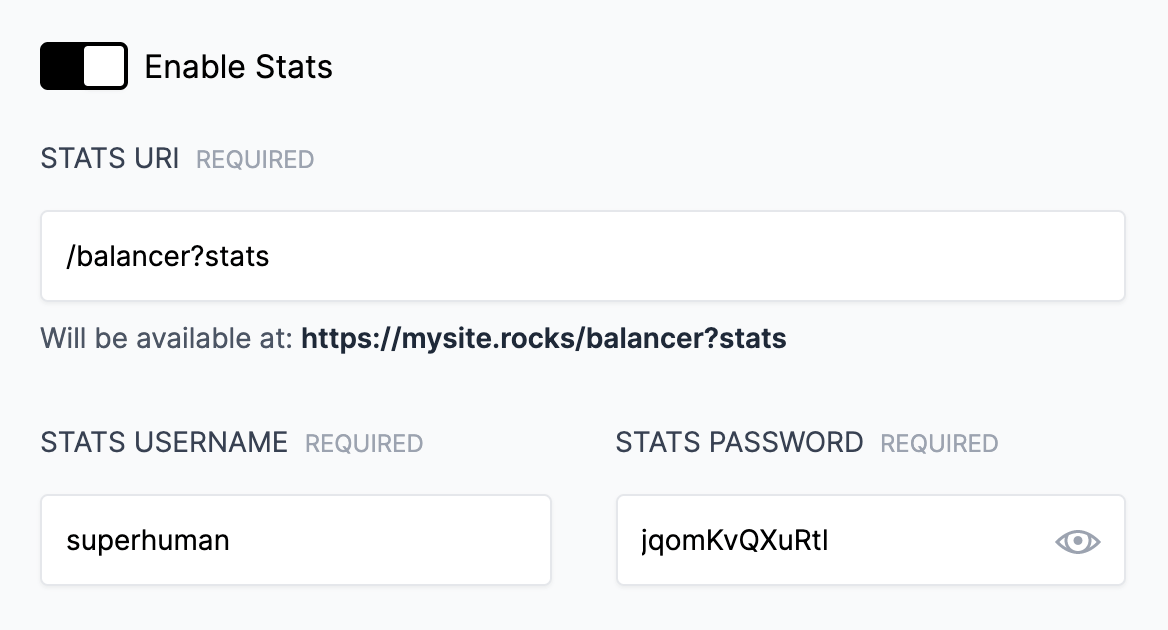
Advanced Options
You may opt to enable stats, which is a GUI that provides real-time statistics for your load balancing architecture.
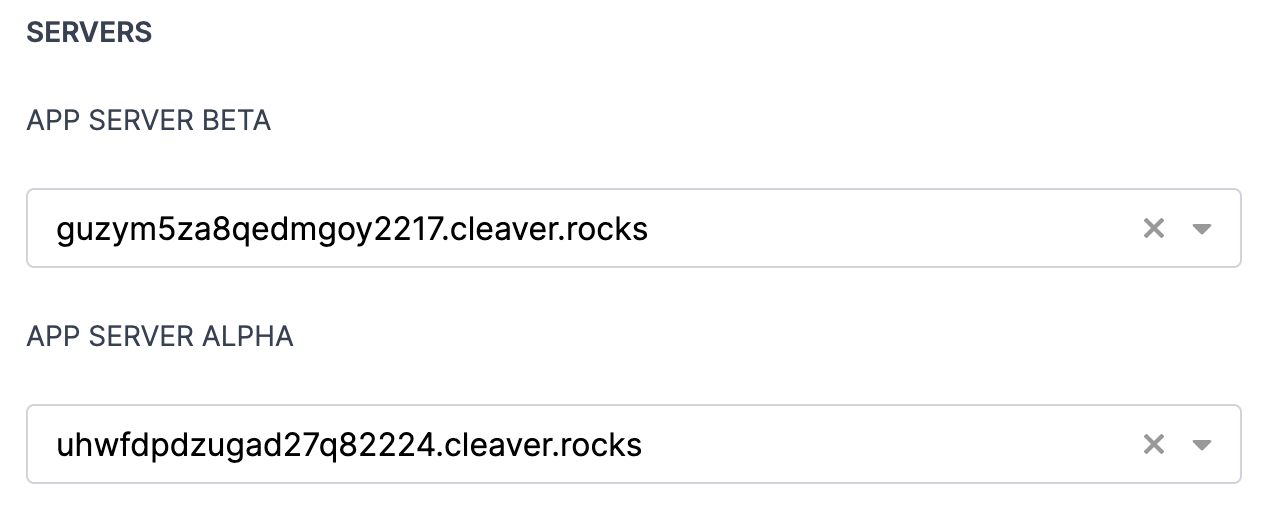
Associate Servers
After the load balancing site is set up, you can now associate servers to balance the traffic load between.
Click on the Actions button and then select the Link Servers option.
Next, add the servers that traffic will be spread across.
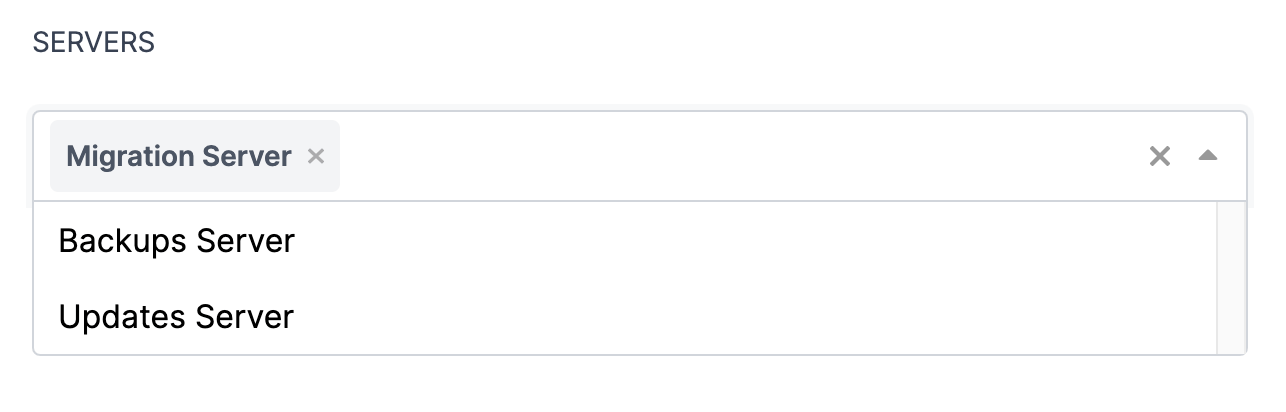
When you have the servers selected, click Update.
Associate Sites
After the servers are associated to the load balancer, Cleavr will list the selected servers as well as automatically select sites.
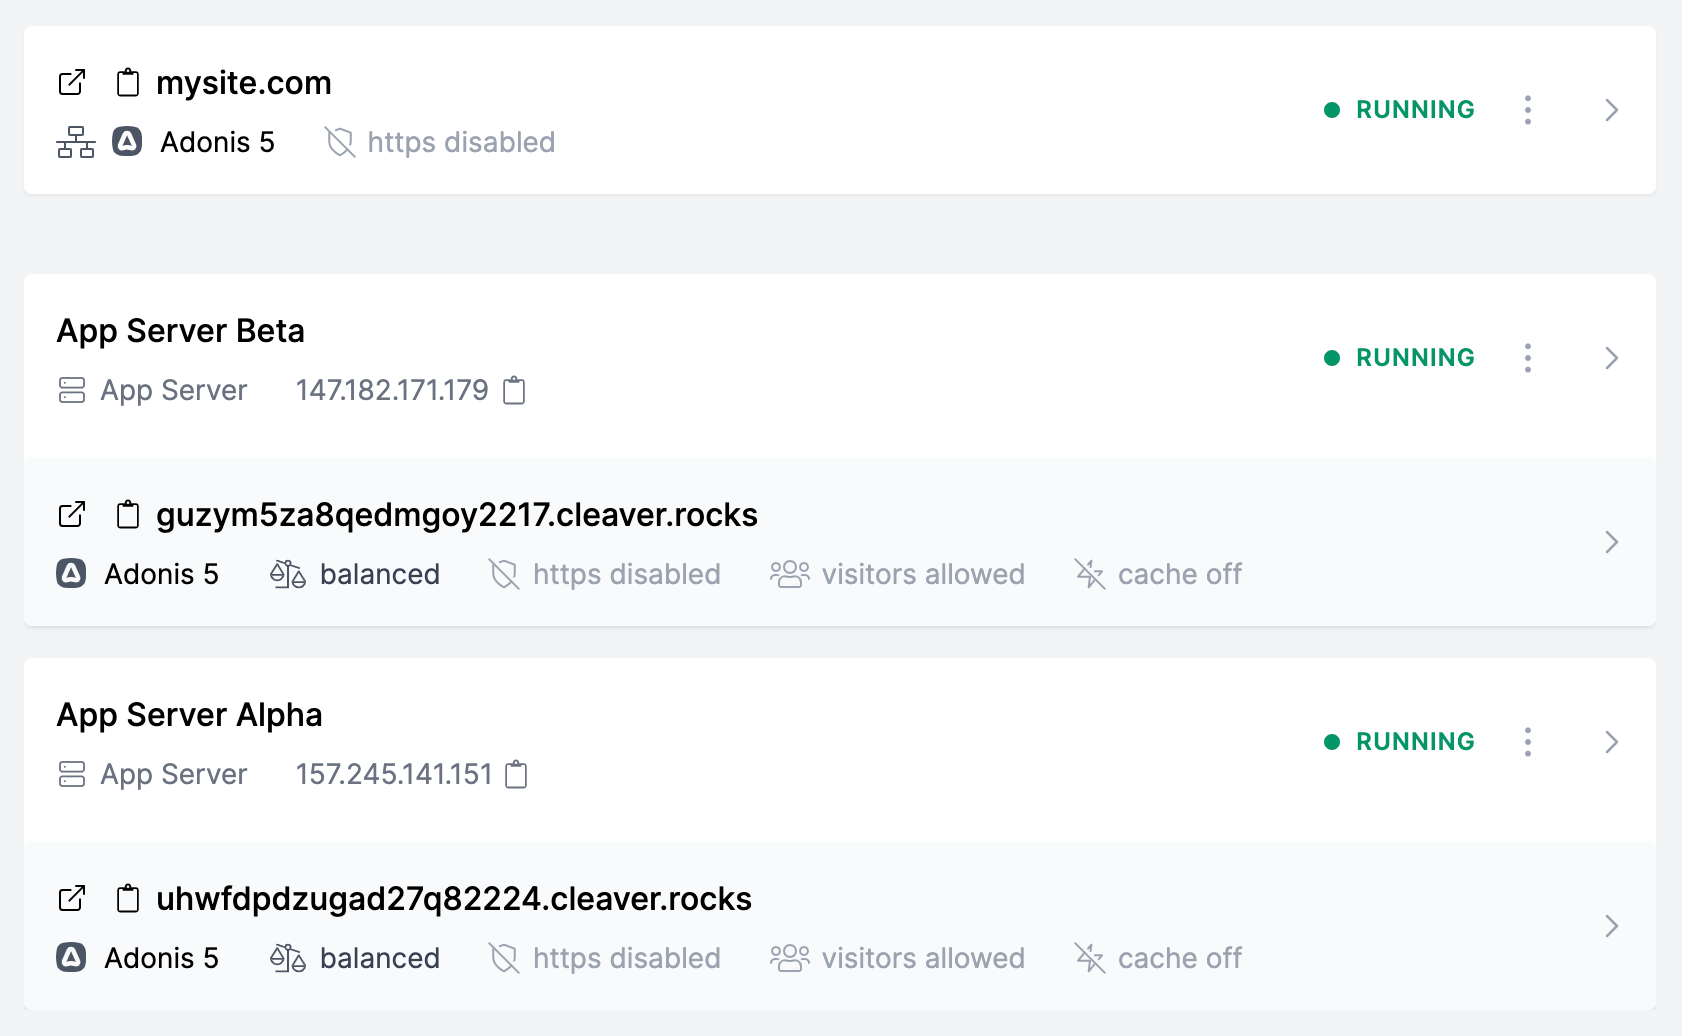
If you intend to use a different site than what was automatically selected, click Actions, select the Link Sites option, select the sites you want to use, and then click Update.
You can create the sites on the associated servers before or after adding the main load balancing site. Also, if you don't use the same domain on the target servers, then you will need to setup an Alias for selected sites on the target servers. If your sites on the target servers were created using your own custom domain, add the alias in the site's 'Domain Alias' section. If using a free Cleavr test domain, update the site's 'NGINX Config' and add the domain to the `server_name` rows; such as `server_name cleavr-free-domain.cleavr.rocks yourdomain.com`.
Configure Balancer
By default, the load balancer will be configured to direct traffic round robin style, but you may change that as well as make some other configurations by clicking on Actions and then selecting Configure Balancer.
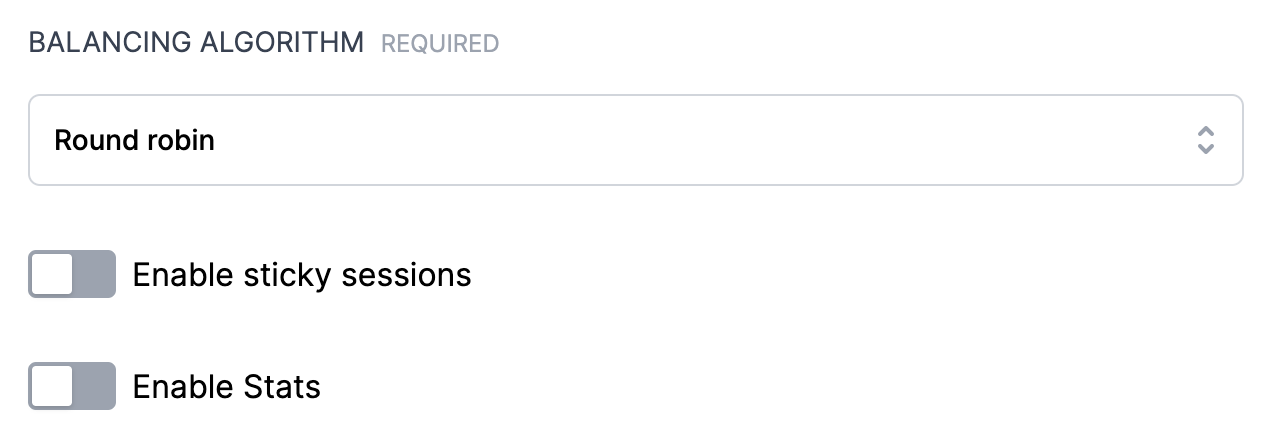
Balancing Algorithms
The following options are available:
- Round Robin: distributes traffic by switching between target servers one request at a time
- Least connections: servers with least amount of active connections are given priority for new traffic
- Source: will attempt to keep traffic on same server by source IP (a good option when cookies aren't available)
Sticky Sessions
Enabling sticky sessions will drop a cookie for a session, which the load balancer will recognize and then keep the visitor on the same server over the duration of their visit.
Deploy Web App
When the load balancing site is setup and servers and sites have been associated, you can now deploy out your web app!
Cleavr automatically creates a new deployment workflow and configures it with the selected servers and sites that you identified while setting up the load balancer.
You'll only need to add some finishing touches and will be deploying your apps across a multi-server, load balanced architecture in no time!
In the Deployments section, find the workflow that was created as a result of the above steps. Hint: it will be named with the same domain you entered for the load balancing site.
Select the workflow and then configure the workflow settings > code repository, build, environment, and deployment hooks as you would for any other app you deploy.
Once you're all setup, deploy! 🚀
One of the key things to configure for any app that uses a database, is to set up the database to accept connections from the requesting servers as well as to add the appropriate database connections to the corresponding environment files or in the app where the database connections are defined.