Deploy Bedrock Wordpress Sites
Bedrock by Roots is a WordPress boiler plate that is a great for development-minded WordPress users.
With Bedrock, you can update WordPress locally on your device, and then deploy the finished product out using the deployment workflow method in Cleavr.
Another benefit of Bedrock is that you can benefit from some of the enhancements and more modern development methods that they've introduced. Such as, you can
make use of a .env file to maintain environment variables, such as database connections.
Step 1: Create New Bedrock Project
The first step is to add a new Bedrock project to your local machine.
Follow the Bedrock installation instructions to get going.
Once installed, build your WordPress site on your local environment and continue on to the following instructions when ready to deploy.
Step 2: Commit Your Code To A Version Control Repository
Add your code to GitHub, Bitbucket, or GitLab.
Step 3: Add Server And Site
In Cleavr, provision a new server.
Once the server has completed setup, add a new PHP site to the server and enter web for the Web Directory.
Also, select the advance option to also create a database during site creation. Remember the database details as you'll need to add them later to the environment section.
Step 4: Configure Deployment Workflow Code Repository
Navigate to the Deployments section. You'll notice that a new deployment workflow has been added after adding the site. This is the master deployment workflow that we'll configure to deploy the Bedrock site to the server.
Click into the workflow, then go to Settings > Code Repository and select the VC Provider for where your code is and then enter the Repository and Branch To Deploy info.
Step 5: Add Environment Variables
On the Environment tab, add in the .env variables.
They should look something like the following.
DB_NAME='bedrock database name'
DB_USER='user'
DB_PASSWORD='password'

# Optionally, you can use a data source name (DSN)
# When using a DSN, you can remove the DB_NAME, DB_USER, DB_PASSWORD, and DB_HOST variables
# DATABASE_URL='mysql://database_user:database_password@database_host:database_port/database_name'

# Optional database variables
DB_HOST='localhost'
DB_PREFIX='wp_'

WP_ENV='development'
WP_HOME='https://example.com'
WP_SITEURL="${WP_HOME}"

# Specify optional debug.log path
# WP_DEBUG_LOG='/path/to/debug.log'

# Generate your keys here: https://roots.io/salts.html
AUTH_KEY='generateme'
SECURE_AUTH_KEY='generateme'
LOGGED_IN_KEY='generateme'
NONCE_KEY='generateme'
AUTH_SALT='generateme'
SECURE_AUTH_SALT='generateme'
LOGGED_IN_SALT='generateme'
NONCE_SALT='generateme'
Fill in the database connection info, WP_HOME, and add in your salts using https://roots.io/salts.html.
Click sync to save variables.
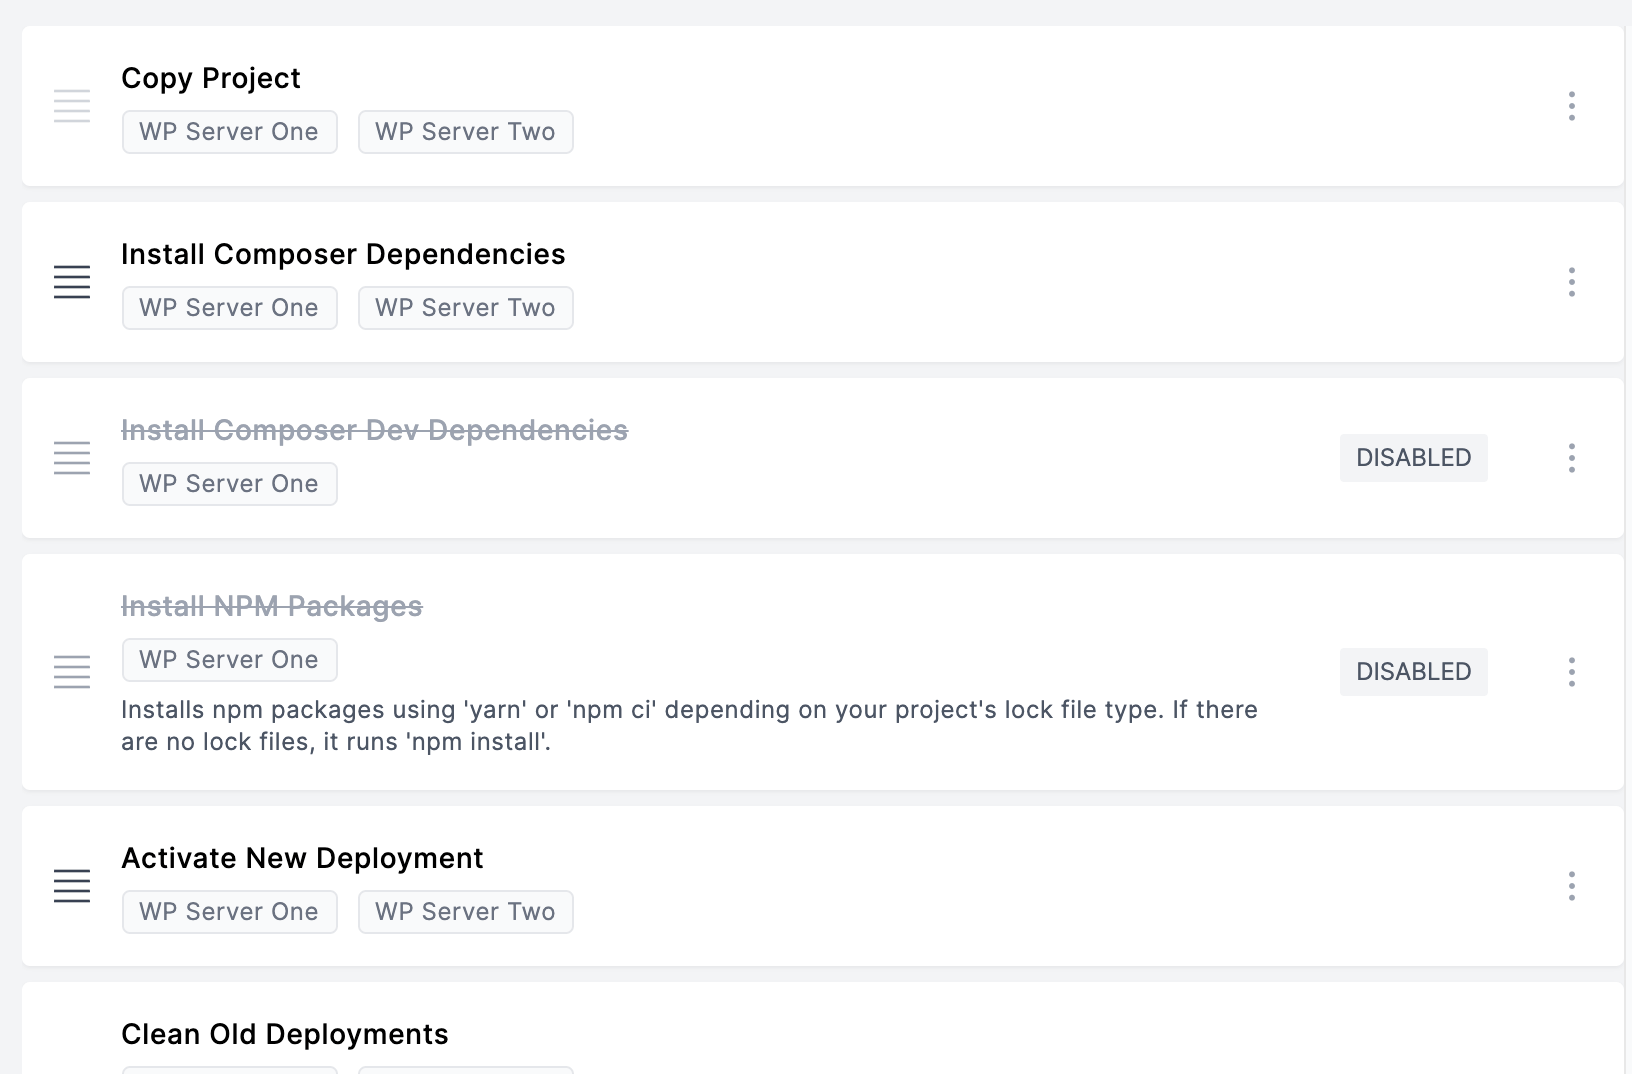
Step 6: Verify deployment hooks
Go to the Deployment Hooks section and enable Install Composer Dependencies hook.
Step 7: Deploy! 🚀
You can now deploy your app!